Visualize This: You Don’t Wanna Miss This Month’s New Stuff
This month, we’re going heavy on the visuals with our newest tools and features such as Visual Polls. Here are some of the new things we’ve introduced on MaestroConference:
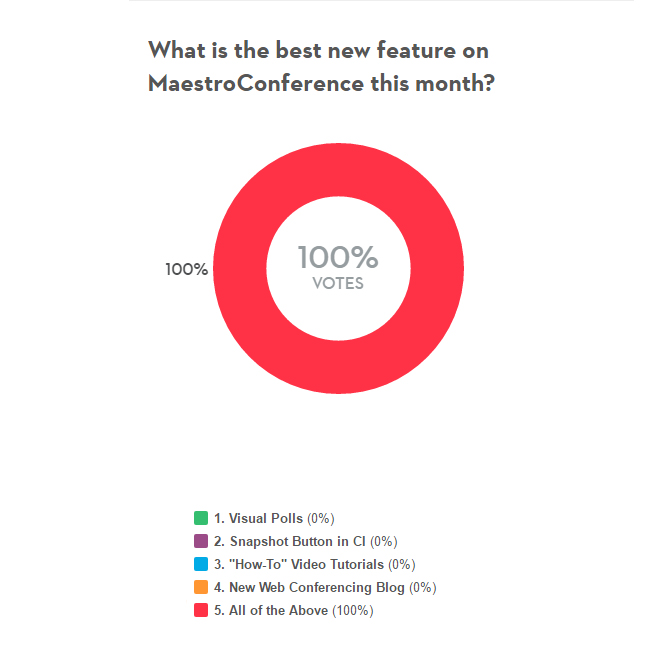
- Redesigned the Visual Polls to make them more dynamic and unique for your event
- Added the ability for you to take Snapshots of your event in the Conductor Interface
- Created over 30 short “how-to” video tutorials for our most powerful features
- Completely revamped our Web Conferencing blog
Let’s look at these new features a little closer.
Introducing the redesigned Visual Polls
As you may recall, our original Visual Poll was somewhat limited in that, while it was great at capturing the % breakdown of your audience, you couldn’t name the poll choices – your participants only saw choices “1, 2, 3, 4 or 5.” This meant your audience either had to remember what each poll choice represented (“press 1 if you’re a cat lover, press 2 if you’re a dog lover”) or you had to post a note in the host chat feature about what each poll choice meant.
We’ve redesigned the Visual Polls to help you more effectively take the pulse of your audience.
Ask thought-provoking questions, give your participants poll choices that really get to the heart of the matter, and let them answer by “raising their hands” virtually. And then share the results in real-time or after the poll has ended, with a detailed breakdown of the % for each poll choice.
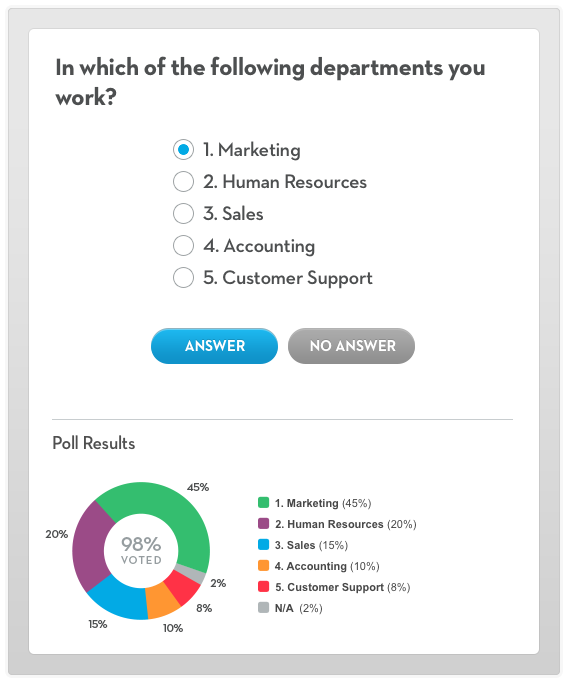
Create as many polls as you want on-the-fly during the event or have them ready to go before the event starts. You can even load polls from previous events, which is particularly useful if you find a poll that really resonates with the audience. Check out the “Basic Intro to Polls” video to learn how to create your first Visual Poll.
Snapshot Button in the Conductor Interface
Did you miss who “raised their hand” during an audience poll? Did you stumble upon a more effective breakout group format in your last event that you would like to recreate in your next event? Did something really interesting or noteworthy happen during one of your recent events?
Well then, take a Snapshot of the Conductor Interface and save the Snapshot for future reference (“Why don’t you take a picture, it’ll last longer!” ~Pee Wee Herman).
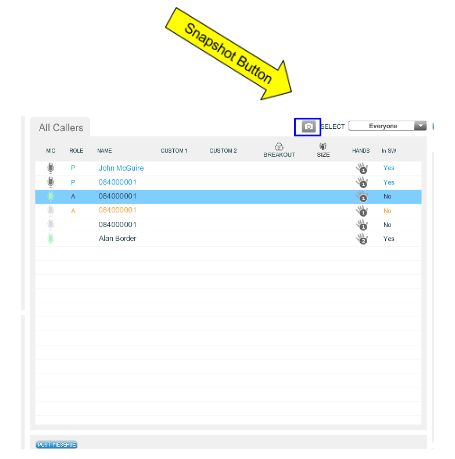
What can you use the Snapshot button for? Here are just a few cases where it may be helpful to have a Snapshot:
- Capture optins – as a best practice, all of your events should include at least a couple of points in time during which you ask your audience to optin for something, whether it be to share their email address with you, get invited to your next event, learn more about your courses, donate to your cause, etc. Click Snapshot during those critical optin moments to make sure you don’t miss anyone who “raises their hand” with interest.
- Get a record of your event – save information about your event as it’s happening, such as who was attending, when were they attending, when they left your event, and more.
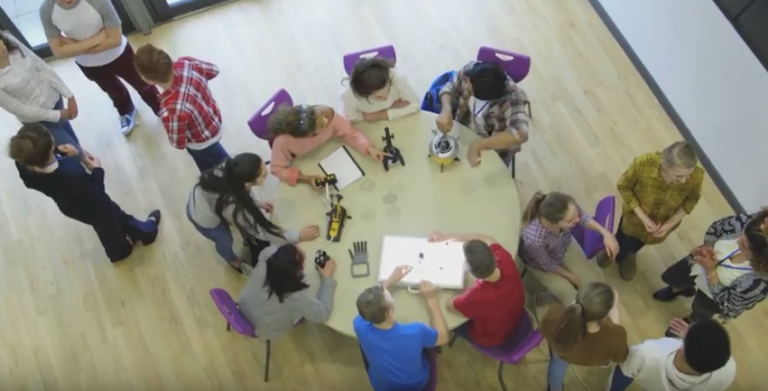
- Recreate Breakout Groups – take Snapshots during the Breakout sessions of your event, and if you find that one session ends up being more engaging than others, you can review the Snapshot of that session and use it to recreate that same Breakout in your next event.
- Find what you missed – if you realize that something really interesting or noteworthy is happening or just happened during your event, note the conference time and send it to us, we’ll find the Snapshot in the Conductor Interface and send it to you. You don’t want to miss that moment when new ground is being broken.
- Troubleshooting – having technical issues with your account? Send us the Snapshot of the issue and our Support and Engineering teams can review and remedy. Do you want to offer your team constructive criticism about how they ran an event for your org? Take a Snapshot, share it with your team and use it as a reference to illustrate your comments and suggestions for improvement.
Video Tutorials: “How-To” use our most powerful features
You may or may not be aware of it, but we offer our customers a bunch of free resources to help you get the most of our your events – support docs, an event simulator, live training (judging by attendance, you probably aren’t aware of the always FREE live training…)
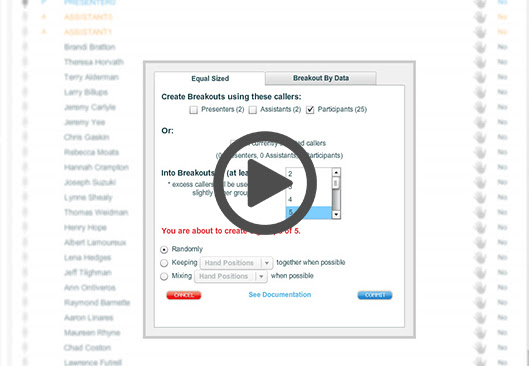
One of our best resources is also our newest: “How-To” Video Tutorials. Our sales guy, Anthony J., has spent the last few weeks recording over 30 short videos (most are 1-3 minutes long) illustrating how to use MaestroConference’s dynamic tools and robust features to engage your audience in highly interactive virtual events. From “Running a Conference Basics” to “Walk the Rooms with Breakout Groups” to “Press Conferences with the Whisper Function”, these videos cover everything from the most basic features to the uber advanced ones.
For your convenience, Anthony has organized these 30+ videos into six video playlists based on skill level, starting with “Beginner: An Introduction to Conference Management” for those new MaestroConference customers and ending at “Uber Advanced Breakouts & Web Conference Mastery” for event techs, expert event hosts and our most experienced customers. Happy viewing!
Introducing the all-new Web Conferencing Blog
Last, but certainly not least – we’re excited to share with you this shiny new Web Conferencing blog of ours. As you can see, we’ve completely revamped the layout and format to make it more shareable, mobile-friendly and more in line with “best of” industry practices. We’ve also introduced some new opportunities, such as the “Write for Us” Guest Blogger page.
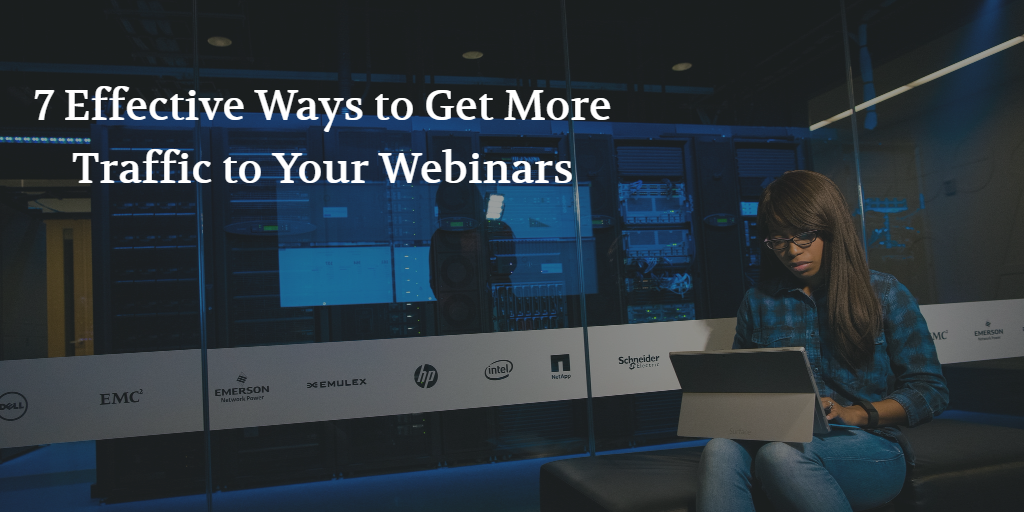
Our goal with the Web Conferencing Blog is to share with you some of the insights we’ve learned from the millions of events hosted on our platform. We plan to create content about event marketing, event production, and webinar success that we hope you’ll find valuable, useful and helpful for your events, regardless of whether or not you use MaestroConference. Here’s one example:
Have a topic you’d like us to explore? A question you’d like us to dissect? Please feel free to email me with blog topic suggestions at jmartinez@maestroconference.com.
2 Comments
Comments are closed.